

Summary
22 items · 45-90 minutes
Why Pre-Renovation Prep Is the Work That Protects the Work
A kitchen renovation is one of the most disruptive - and potentially costly - projects a homeowner can undertake. Walls come down, utilities get rerouted, and a room you use multiple times a day disappears for weeks or months. Most renovation problems don't start during construction. They start in the weeks before the first cabinet is pulled, when assumptions go unverified and planning gaps quietly accumulate.
This checklist is designed to close those gaps. Whether you're hiring a general contractor, managing subcontractors yourself, or handling portions of the work as a skilled DIYer, working through each item before demolition begins will help you avoid the surprises that derail timelines and strain budgets. If you're newer to home improvement projects in general, our guide for first-time renovators covers foundational planning concepts worth reviewing before diving into a project this scale.
Tape measure (25 ft minimum)
Used to record all critical kitchen dimensions - wall lengths, ceiling height, window and door openings - needed for accurate layout planning.
Graph paper or free floor plan tool
Helps you create a scaled layout to verify that your planned cabinet and appliance configuration fits your actual space.
Non-contact voltage tester
Allows you to safely confirm that circuits are de-energized before anyone opens walls or works near electrical components.
Stud finder
Locates framing members behind walls to identify load-bearing structures and safe anchor points before demolition.
Flashlight or headlamp
Essential for inspecting the interior of cabinets, under sinks, and inside utility closets when locating shutoff valves.
Dedicated project notebook or shared digital document
Keeps measurements, contractor notes, permit numbers, and material lead times organized in one place throughout the project.
How to Use This Checklist
Work through each group in order - the categories are sequenced so that earlier decisions inform later ones. Items marked must are non-negotiable: skipping them typically creates legal, structural, or financial risk. Items marked should are strongly recommended for most projects. Nice-to-have items add polish and long-term value but can be deferred if constraints require it.
Pull out a notepad or open a shared document so you can record answers, measurements, and contractor conversations as you go. A checklist you can annotate is far more useful than one you simply read. For a deeper look at where renovation budgets typically break down - and how to structure one that can absorb surprises - see our companion piece on why renovation budgets fall apart.
Permits Are Not Optional
Kitchen renovations commonly require permits for electrical panel upgrades, gas line work, plumbing rough-in changes, and structural wall removal. Unpermitted work can create serious obstacles when you sell your home, potentially requiring expensive remediation or disclosure of code violations. Requirements vary by municipality - always verify with your local building department before work begins, not after.
Kitchen renovations commonly require permits for electrical panel upgrades, gas line work, plumbing rough-in changes, and structural wall removal. Requirements vary by municipality - always verify with your local building department before work begins, not after.
Permits and Regulatory Review
Measurements and Layout Verification
Utility Shutoffs and Safety Prep
Budget and Contingency Planning
Material Ordering and Lead Times
Contractor and Trade Coordination
Working With Contractors: Set the Stage Before Day One
Even a well-planned kitchen renovation can unravel without clear contractor communication. Before any subcontractor steps onto your property, confirm that scope, sequencing, and access are documented in writing. Verbal agreements are difficult to enforce when disputes arise mid-project. Understanding what contractors actually need from homeowners - including decisions made on time and payment issued per schedule - goes a long way toward keeping projects on track. Our article on what contractors wish homeowners understood covers the communication habits that separate smooth renovations from contentious ones.
Never Skip the Gas Shutoff Check
Gas line work is among the most hazardous elements of a kitchen renovation. Before demolition begins, physically confirm that you know the location of the kitchen gas shutoff and that it operates freely. If you have any doubt about the valve's condition or the line's configuration, contact a licensed plumber or gas technician - do not proceed with demo until this is resolved. This is not a step to delegate to assumption.
Changing Plans Mid-Project Is Expensive
Design decisions that shift after contracts are signed - moving the sink drain, adding an island, changing cabinet configuration - trigger change orders that can significantly increase both cost and timeline. Lock in your layout, appliance specs, and material selections before demolition begins. Changes are always cheaper on paper than in the field.
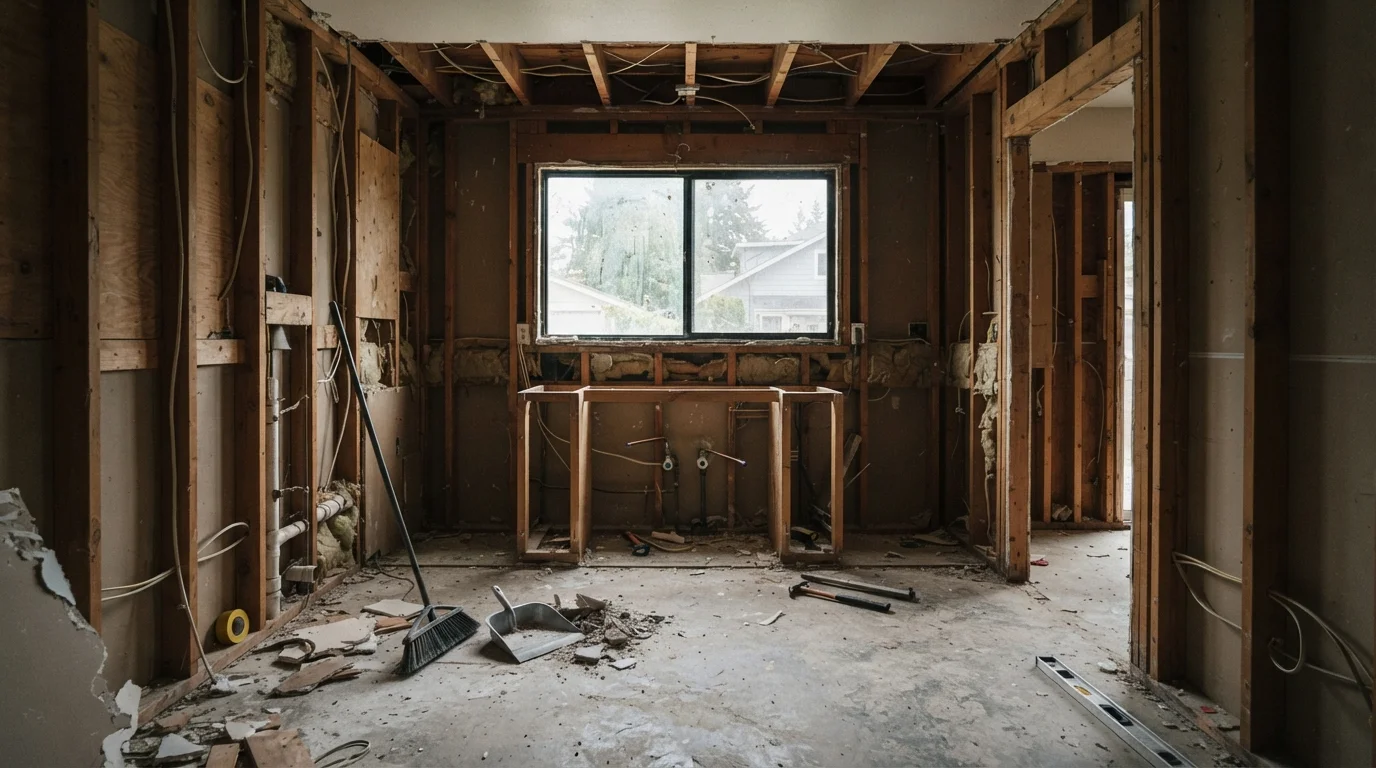
Finally, remember that a kitchen gut reveals what's behind surfaces - and discoveries like outdated wiring, subfloor rot, or non-code plumbing are common. Build that reality into your timeline and budget expectations from the start, not as an afterthought when the walls are already open.
The content on this site is provided for informational purposes only and should not be considered a substitute for professional advice. While we strive to provide accurate and up-to-date information, we make no guarantees regarding its completeness or accuracy. Always consult a qualified professional for advice specific to your circumstances before making any decisions