

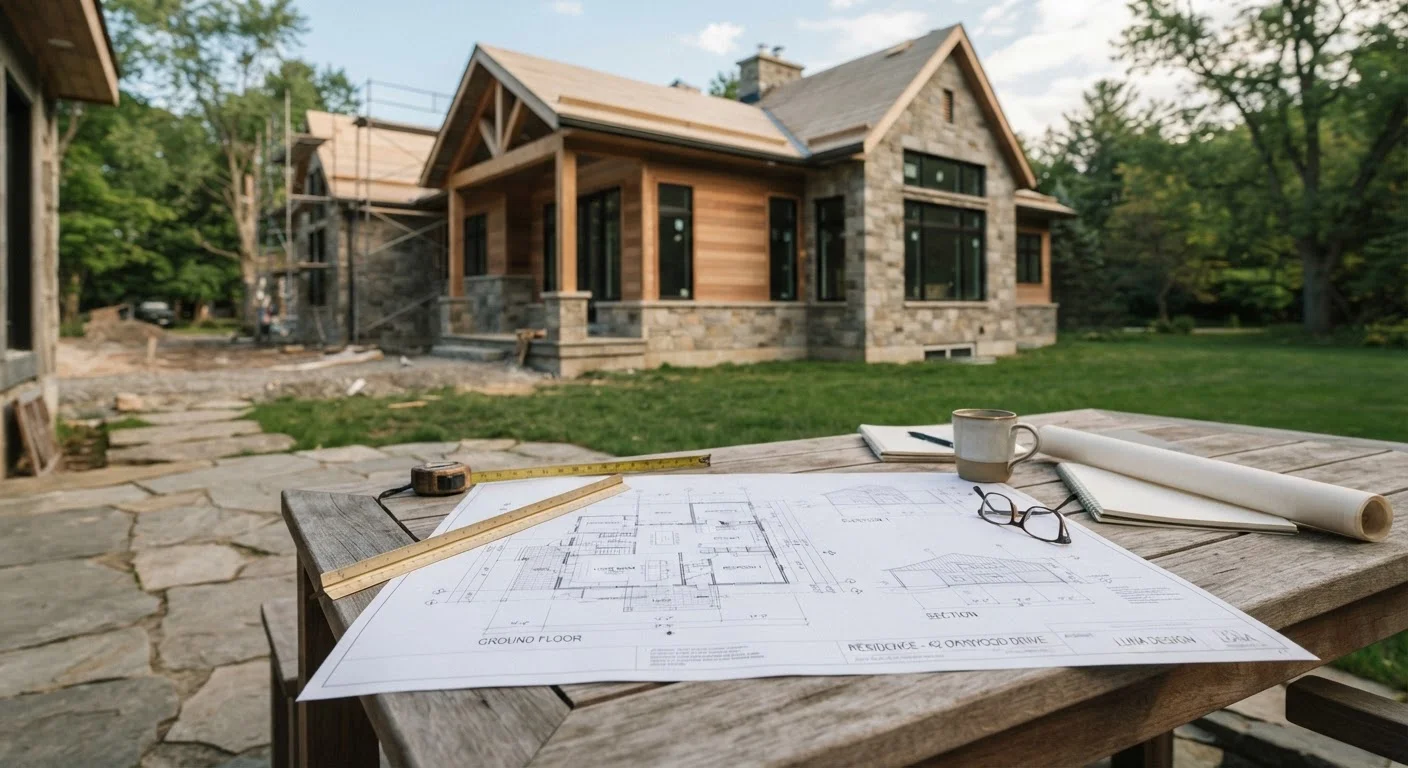
Why the Pre-Construction Phase Is Where Additions Succeed or Fail
A room addition is one of the most complex residential projects a homeowner can undertake - more demanding in regulatory terms than a kitchen remodel and more structurally involved than finishing a basement. Unlike interior renovations, an addition alters your home's footprint, affects its structural envelope, and permanently changes your relationship to your property lines. That's why the months before breaking ground matter more than most homeowners expect.
The pre-construction phase isn't just paperwork. It's where incompatible design ideas get resolved, where structural risks are identified and addressed, and where cost surprises are caught while they're still on paper rather than in the field. Projects that skip or rush this phase routinely encounter expensive mid-construction discoveries: a foundation that can't carry the new load, a roofline that violates height limits, or a permit that can't be issued because zoning approval was never obtained.
Zoning Setbacks Can Stop a Project Cold
Many homeowners discover mid-planning that their preferred addition location violates local setback rules - the minimum required distance between a structure and a property line. Violations can require a variance hearing, which adds months and is not guaranteed to be approved. Check your zoning classification and setback requirements before investing in design work.
Understanding each stage - feasibility, design, engineering, permits, bidding, and site preparation - lets you move through the process with realistic expectations rather than frustrating surprises. For scope comparison, our kitchen renovation checklist illustrates how even smaller interior projects benefit from similar front-end rigor.
Request a Pre-Application Meeting
Many local building departments offer informal pre-application meetings where you can describe your project and get early guidance on likely requirements. This single conversation can reveal zoning constraints, utility easements, or design restrictions before you've paid for detailed drawings. It's free, takes under an hour, and can save weeks of rework.
The Six Steps From Concept to Construction-Ready
The following steps reflect the typical sequence for a room addition in the United States. Specific requirements vary by state, county, and municipality - always verify local rules with your building department and confirm that any professional you hire holds the licenses required in your jurisdiction.
What you will need
Plat Map or Survey
Shows your property boundaries, easements, and existing structures - essential for verifying setbacks and lot coverage limits.
Architect or Residential Designer
Produces permit-ready construction drawings that satisfy building department requirements and reflect your design intent.
Structural Engineer
Calculates load paths, foundation requirements, and connection details so the addition integrates safely with the existing structure.
General Contractor
Manages subcontractors, schedules inspections, and coordinates the physical construction phase.
Soil Report (Geotechnical Report)
Characterizes subsurface conditions to inform foundation design - often required in areas with expansive soils or seismic risk.
Define Your Scope and Verify It's Feasible
Before contacting any professionals, write down what you want the addition to accomplish - a primary bedroom, a home office, an expanded kitchen. Sketch a rough footprint and note where on your lot you'd like to build. Then pull up your local zoning code or visit your municipality's planning department website to look up your parcel's zoning classification.
Key questions to answer at this stage: What are the setback requirements from each property line? Does your lot have a maximum allowable coverage percentage? Is your home in a historic district or HOA with design review requirements? These answers determine whether your concept is even buildable before you spend a dollar on design.
Hire an Architect and Establish a Design
Once you've confirmed basic feasibility, engage a licensed architect or residential designer. Provide them with your plat map, any existing home drawings if available, and your scope goals. A good architect will conduct a site visit, document existing conditions, and help you understand how the addition will integrate with your home's structure, roof line, and mechanical systems.
Expect an iterative design process with at least two or three rounds of revisions before drawings are permit-ready. Rushing this stage almost always produces plan-check corrections that delay your timeline.
Complete Structural Engineering
Structural engineering is not optional for a room addition. An engineer will review your existing foundation and framing to determine whether they can support the new load, specify any required upgrades, design the new foundation system, and detail how the addition's roof and walls tie into your existing home.
In seismically active states like California, Oregon, or Washington, or in hurricane-prone coastal areas, structural requirements are particularly stringent. Your architect typically coordinates with the engineer, but you should understand that their stamp on the drawings is what the building department relies on to approve the structural design.
Submit for Permits and Navigate Plan Review
With a complete drawing set - architectural, structural, and often mechanical/electrical/plumbing sheets - your contractor or architect submits a permit application to your local building department. Most jurisdictions now accept electronic submissions. See our guide to renovation permits for a detailed overview of how this process typically unfolds.
Plan review timelines vary enormously: some smaller municipalities turn around permits in two to three weeks; others in major metros can take three to five months. If the reviewer issues correction comments, your design team responds with revised drawings. Budget for one to two rounds of corrections as a realistic expectation, not a worst case.
Get Contractor Bids and Finalize Your Budget
While your permit is in review - not after it's approved - is the right time to solicit bids from general contractors. Provide each bidder with the same complete drawing set so bids are genuinely comparable. Expect to receive at least three bids. Significant outliers in either direction deserve scrutiny: a bid far below others may signal incomplete scope; one far above may reflect scheduling constraints rather than better quality.
Review each bid line by line. Ask contractors to clarify what's included in allowances (budgeted line items for finishes you haven't yet selected). For context on what to discuss before signing anything, our article on what contractors wish homeowners understood covers the communication habits that protect both parties.
Prepare Your Property and Schedule the Start Date
Once your permit is issued and you've executed a contract with your chosen contractor, the pre-construction phase closes and logistics begin. This includes marking utility lines (call 811 before any digging), arranging temporary access for equipment, notifying neighbors of upcoming work, and confirming lead times on any long-lead materials like windows, steel beams, or engineered lumber.
Establish a clear project schedule with your contractor that identifies key inspection milestones - foundation, framing, rough mechanical - so you know when the building department needs to be called. Missing inspections can require opening up finished work, so this coordination matters from day one. If this is your first significant renovation, our first home renovation guide offers useful grounding on managing the overall process.
Never Skip the Permit Process
Building a room addition without the required permits is illegal in virtually every U.S. jurisdiction and can trigger fines, forced demolition, and title complications when you sell. Unpermitted additions are also uninsured - your homeowner's policy is unlikely to cover damage in a structure that was never inspected. Always verify permit requirements with your local building department before any work begins.
This article provides general educational information about the room addition planning process. It is not a substitute for advice from licensed architects, engineers, contractors, or your local building authority. Requirements vary significantly by location - always consult the appropriate professionals and officials for guidance specific to your project and jurisdiction.
The content on this site is provided for informational purposes only and should not be considered a substitute for professional advice. While we strive to provide accurate and up-to-date information, we make no guarantees regarding its completeness or accuracy. Always consult a qualified professional for advice specific to your circumstances before making any decisions