

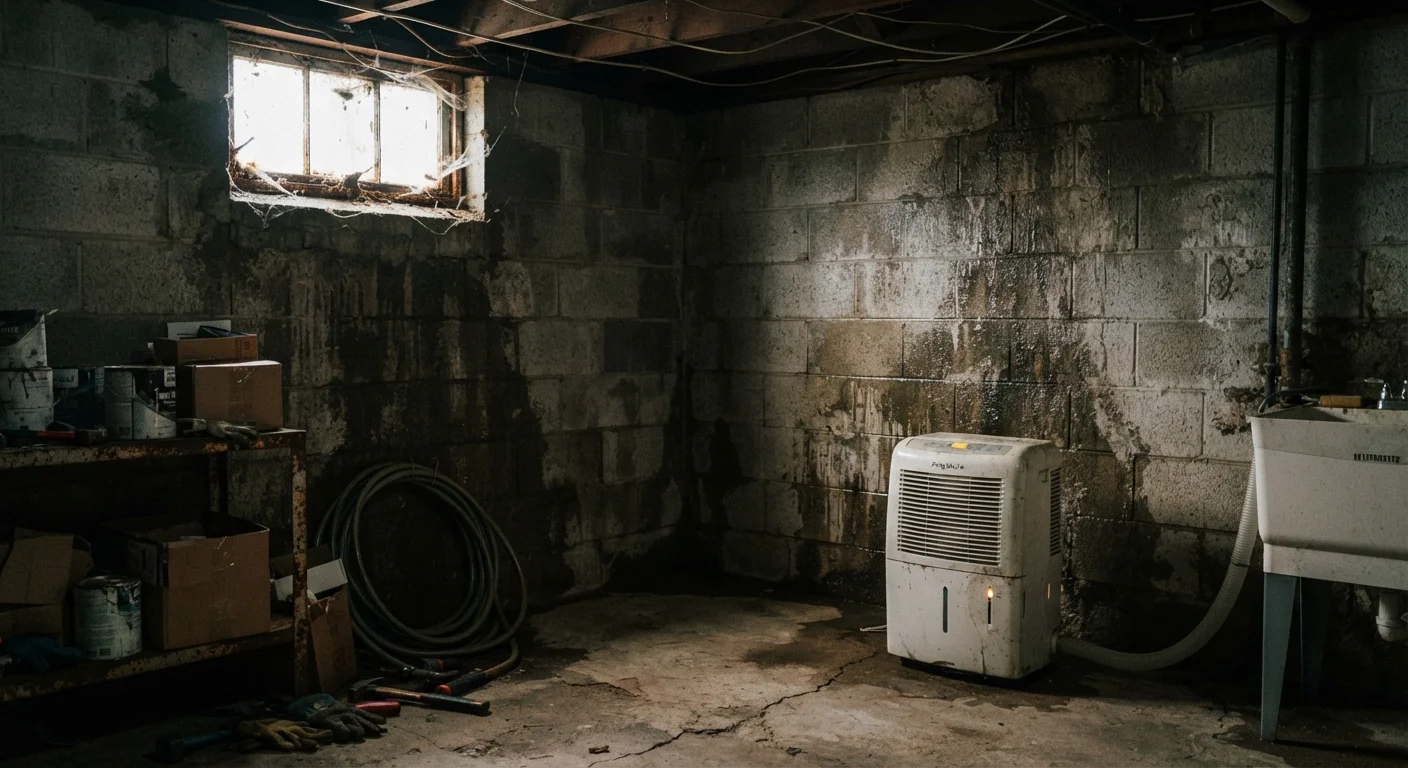
Understanding Why Basements Are Prone to Moisture
Basements sit below or partially below grade, meaning they're surrounded by soil that absorbs and retains rainwater, snowmelt, and groundwater. Concrete and block - the two most common foundation materials - are not inherently waterproof. Both are porous enough to allow water vapor and, under pressure, liquid water to migrate inward over time.
Moisture problems generally fall into one of two categories: condensation and water intrusion. Condensation occurs when warm, humid air - often drawn in through windows or doors in summer - contacts cool basement surfaces. Water intrusion, by contrast, enters from outside, driven by rain, snowmelt, or a high water table pushing against the foundation.
Both categories are manageable, but they require different responses. Treating a condensation problem as a seepage problem (or vice versa) leads to wasted effort and continued damage. This distinction is the foundation of everything that follows.
Simple Test to Identify Moisture Source
Tape a 12-inch square of plastic sheeting to a suspect wall section and seal all edges with tape. Leave it for 24-48 hours. If moisture appears on the room-facing side of the plastic, the problem is interior condensation. If moisture appears between the plastic and the wall, water is seeping through from outside.
The Most Common Entry Points - and What to Do About Them
Before working through the steps below, gather your tools and do a visual inspection of the basement interior and the exterior perimeter of your home.
What you will need
The most frequent sources of basement moisture in American homes include:
- Gutters and downspouts - overflow or improper discharge saturates soil at the foundation
- Poor grading - soil sloping toward the house channels surface water to the foundation wall
- Cracks in the foundation - poured concrete develops hairline cracks over time; block walls are naturally more porous
- The wall-floor joint - where the foundation wall meets the footing is a common gap where water can enter under hydrostatic pressure
- Window wells - improperly drained wells pool water against below-grade window frames
Flashlight or work light
Illuminate dark corners, wall-floor joints, and foundation seams during inspection.
Dehumidifier
Reduce interior humidity levels that cause condensation on cool basement surfaces.
Hydraulic cement or masonry waterproofing paint
Seal minor cracks or porous block walls as a first-line interior moisture barrier.
Downspout extenders
Direct roof runoff at least 6 feet away from the foundation to reduce soil saturation.
Plastic sheeting and tape
Perform the condensation vs. seepage test to identify the moisture source.
Working through the steps in order - starting with diagnosis - prevents the common mistake of interior patching when the real problem is exterior drainage. As noted in why small water leaks become expensive problems, even minor ongoing moisture accelerates mold growth, wood rot, and structural deterioration.
Identify Whether the Moisture Is Condensation or Seepage
Before spending money on repairs, confirm where the water is actually coming from. Interior condensation forms when warm, humid air contacts cool basement walls or floors - common in summer. Water seepage, by contrast, enters from outside through cracks, porous masonry, or the wall-floor joint.
Use the plastic sheeting test described in the tip below to distinguish between the two. Misidentifying the source is one of the most common - and costly - mistakes homeowners make, as described in common home maintenance myths.
Inspect Your Gutters and Downspouts
Clogged or disconnected gutters are one of the most overlooked drivers of basement moisture. When gutters overflow, water dumps directly against the foundation rather than being carried away. Walk around your home during or after a rain event and observe where water flows.
Clear gutters of debris at least twice per year - spring and fall. Ensure downspouts discharge at least 6 feet from the foundation. Add plastic or aluminum extenders where needed. This single step prevents a large volume of water from saturating the soil around your home's footings.
Check and Correct Soil Grading
The soil immediately surrounding your foundation should slope away from the house at roughly 6 inches of drop over the first 10 feet. Over time, soil settles and can reverse this slope, directing rainwater toward - rather than away from - the foundation.
Use a long level and tape measure to check the grade. If soil is flat or sloping inward, add clean fill dirt and regrade by hand. Avoid piling mulch against the foundation, which traps moisture and can conceal early wood rot or masonry deterioration. Proper landscaping ties directly into overall yard drainage covered in the Lawn & Garden topic hub.
Seal Visible Cracks and Porous Masonry
Hairline cracks in poured concrete walls can be sealed with hydraulic cement or polyurethane injection kits available at hardware stores. Block walls are inherently more porous and may benefit from a coat of masonry waterproofing paint as a secondary measure after addressing exterior drainage.
Focus on the wall-floor joint, pipe penetrations, and any visible horizontal or stair-step cracks. These are the most common entry points for water. Document the location and length of any cracks before sealing so you can monitor whether they grow over time.
Control Interior Humidity with a Dehumidifier
Even after exterior sources are managed, basements often remain humid because they sit below grade with limited air circulation. A properly sized dehumidifier keeps relative humidity below 50-60%, which discourages mold growth and reduces condensation on cool surfaces.
Run the dehumidifier continuously during warm months and empty or drain the reservoir regularly. If the unit runs constantly without making progress, it may be undersized or there may be an unresolved seepage issue still allowing water in. Understanding hidden moisture risks is explored further in why small water leaks become expensive problems.
Establish a Seasonal Inspection Routine
Basement moisture problems are easier to prevent than repair. Build a twice-yearly walkthrough into your home maintenance calendar - ideally in early spring before heavy rains and again in late fall before the ground freezes.
Check for new cracks, efflorescence (white chalky mineral deposits on walls), musty odors, and standing water in window wells. Catching problems early limits damage and keeps repair costs manageable. First-time homeowners can build this habit alongside other foundational maintenance routines outlined in getting started with home maintenance.
When to Call a Licensed Professional
Bowing or cracked foundation walls, recurring flooding after every rain event, or white chalky deposits (efflorescence) spreading across large wall sections are signs that the problem may exceed routine maintenance. These conditions can indicate structural compromise or high hydrostatic pressure. Do not attempt to patch or brace structural foundation problems yourself - contact a licensed waterproofing or structural contractor for a professional assessment.
The content on this site is provided for informational purposes only and should not be considered a substitute for professional advice. While we strive to provide accurate and up-to-date information, we make no guarantees regarding its completeness or accuracy. Always consult a qualified professional for advice specific to your circumstances before making any decisions