

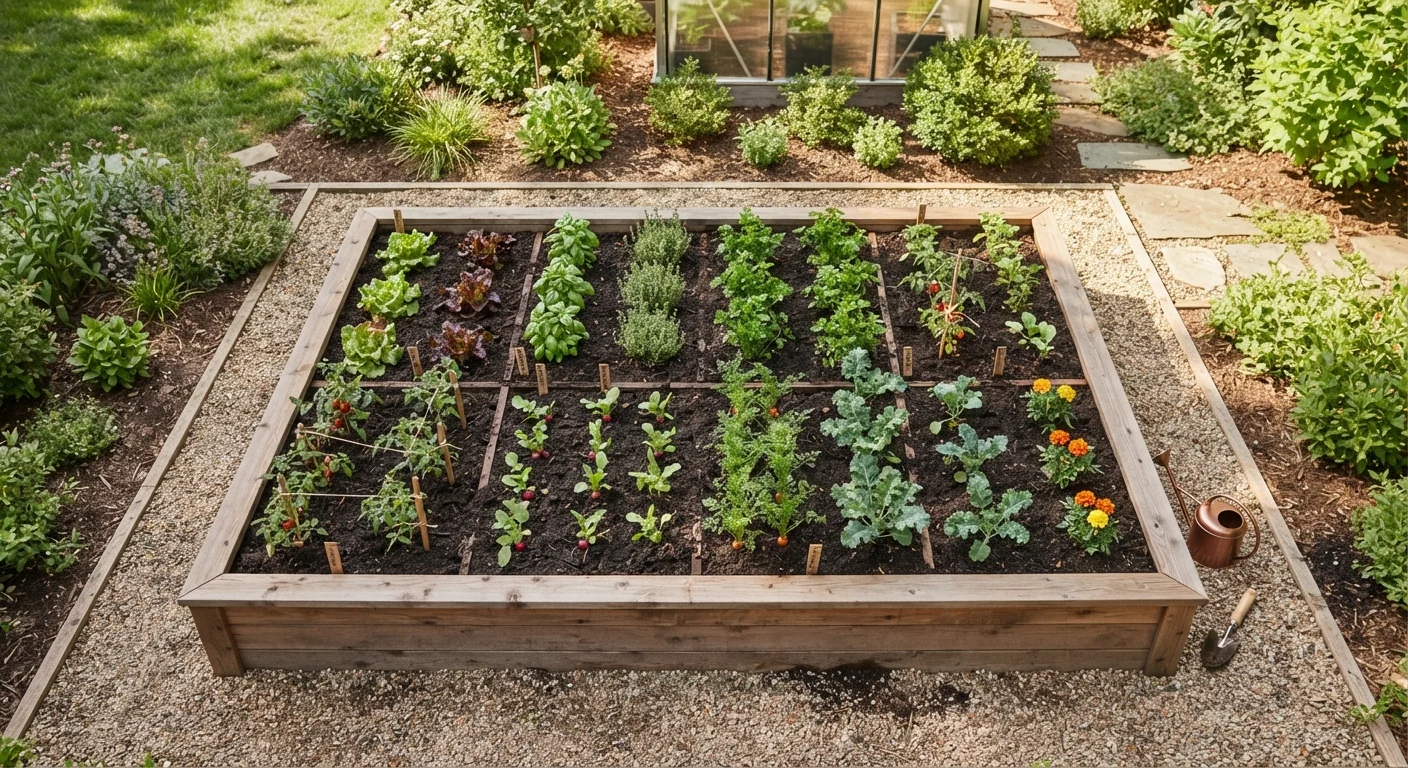
Why Planning Comes Before Building
Raised garden beds are one of the most rewarding garden projects a homeowner can take on - but rushing straight to construction is a common and avoidable mistake. The decisions you make on paper (or at the kitchen table) directly shape how easy the bed is to manage, how productive it becomes, and how long it lasts. This guide walks through those decisions in order so nothing gets overlooked.
If you're brand new to food gardening, our beginner's vegetable garden guide covers what to grow first and how to keep plants alive once they're in the ground - a useful companion once your bed is built.
What you will need
Choosing Your Site and Layout
Most vegetables and herbs need a minimum of six hours of direct sunlight daily, so start by observing your yard throughout the day before picking a spot. South- and east-facing exposures generally receive the most consistent light in the Northern Hemisphere.
Width: Keep beds no wider than 4 feet if accessible from both sides, or 2 feet if against a fence or wall. This lets you reach every plant without compacting the soil by stepping inside - one of the biggest advantages raised beds offer over in-ground rows.
Length: Length is largely flexible, but 4×8 feet is a common starting point because it uses standard lumber dimensions with minimal cutting. Longer beds may need a center cross-brace to prevent the sides from bowing outward under soil pressure.
Drainage and leveling: Avoid low-lying spots where water pools after rain. Slightly sloped ground is workable, but beds should be leveled side-to-side so water distributes evenly across the root zone rather than draining toward one end.
Water access: Place beds within a reasonable distance of a spigot or hose connection. Carrying a full watering can across the yard quickly turns into a deterrent for consistent care.
Start Smaller Than You Think
First-time raised bed gardeners often overbuild. A single 4×8-foot bed is genuinely enough to grow a meaningful supply of greens, herbs, and a few tomatoes. Starting smaller lets you learn watering rhythms and soil behavior before committing to a larger footprint.
Depth: Matching the Bed to What You'll Grow
Bed depth is often underestimated. Shallow beds are cheaper to fill but limit what you can grow successfully.
- 6 inches: Adequate for lettuce, spinach, herbs, and other shallow-rooted greens.
- 8-10 inches: Suits most peppers, tomatoes (with caging), and bush beans - especially if native soil below is decent and you remove the bottom of the bed.
- 12 inches or more: Necessary for carrots, parsnips, beets, and other root crops that need unobstructed vertical space.
If your native soil is reasonably healthy and loose, removing the bottom boards and allowing roots to extend downward can compensate for a shallower frame. If the ground beneath is compacted clay or contains debris, treat the bed as self-contained and fill accordingly.
Shallow Beds Limit Your Crop Options
A 6-inch bed feels like plenty of depth when empty, but root vegetables need unobstructed vertical space to develop properly. If you're planning to grow carrots, beets, or parsnips, build to at least 12 inches from the start - retrofitting a taller frame later is more work than getting the depth right the first time.
Frame Materials: What to Use and What to Avoid
The frame keeps your soil in place and determines the bed's lifespan. Wood remains the most common choice for DIY builders - it's workable, affordable, and blends into garden settings. Cedar and redwood are naturally rot-resistant and can last 10 to 20 years with minimal treatment. Standard pine is less durable but widely available and acceptable if you're comfortable replacing boards every several years.
Pressure-treated lumber: Modern pressure-treated wood uses copper-based preservatives rather than the arsenic-based compounds phased out decades ago. Many gardeners continue to avoid it near edibles out of caution, and that's a reasonable personal choice. If you use it, lining the interior with heavy-duty landscape fabric creates a barrier between the wood and the soil.
Alternatives: Galvanized steel raised beds have become popular for their longevity. Concrete blocks and bricks are stable and durable, though they add thermal mass that can heat the soil more rapidly in summer. Avoid railroad ties and heavily creosoted timbers near food crops.
Filling Your Bed: The Soil Mix That Works
Native yard soil alone is not a good fill for raised beds - it compacts under its own weight, drains poorly, and can introduce weeds or pathogens. A purpose-built mix keeps roots aerated, moisture balanced, and nutrients accessible.
A widely used starting ratio is roughly:
- 60% topsoil - provides weight, structure, and baseline mineral content
- 30% compost - delivers organic matter, microbial activity, and slow-release nutrients
- 10% aerating material - coarse perlite, vermiculite, or aged bark fines improve drainage and prevent compaction
Pre-blended raised bed mixes are sold at most garden centers and offer a convenient starting point, though quality varies. Supplement with finished compost for best results. Our guide to composting at home explains how to produce your own amendment over time.
Plan to top-dress with 1-2 inches of compost each season to replenish what plants consume. Soil in raised beds settles and depletes faster than in-ground gardens because it has no surrounding reservoir to draw from.
Once your bed is filled and planted, mulching the surface helps retain moisture and suppress weeds. See our overview of mulching garden beds for the tradeoffs involved. And when spring rolls around, the spring garden readiness checklist can help you get everything back in order after winter.
The content on this site is provided for informational purposes only and should not be considered a substitute for professional advice. While we strive to provide accurate and up-to-date information, we make no guarantees regarding its completeness or accuracy. Always consult a qualified professional for advice specific to your circumstances before making any decisions